Configuring Sentry
Let’s face it—your code is going to break, even when it’s mobile. The question is: how fast can you fix it when it does? In this section, we’ll add Sentry to our Unborked Mobile application so we can catch those errors in the wild before our users start tweeting about them.
Setting Up Sentry
-
Run the Sentry CLI Wizard
Get Sentry integrated with Unborked’s Mobile application quickly:
Terminal window npx @sentry/wizard@latest -i reactNativeThis wizard will:
- Configure the Sentry SDK in React Native
- Enable error monitoring, and mobile replays
- Create your Sentry project if you don’t have one yet
-
Complete the initial authentication flow
The wizard will prompt you to get started, and warn you if there are files that have not been committed yet, from here, it will install the React Native SDK, and then ask if you’re using Sentry SaaS or self-hosted.
We’re working out of SaaS, so select that, and once you choose yes for having a Sentry account, it’ll prompt you to login.
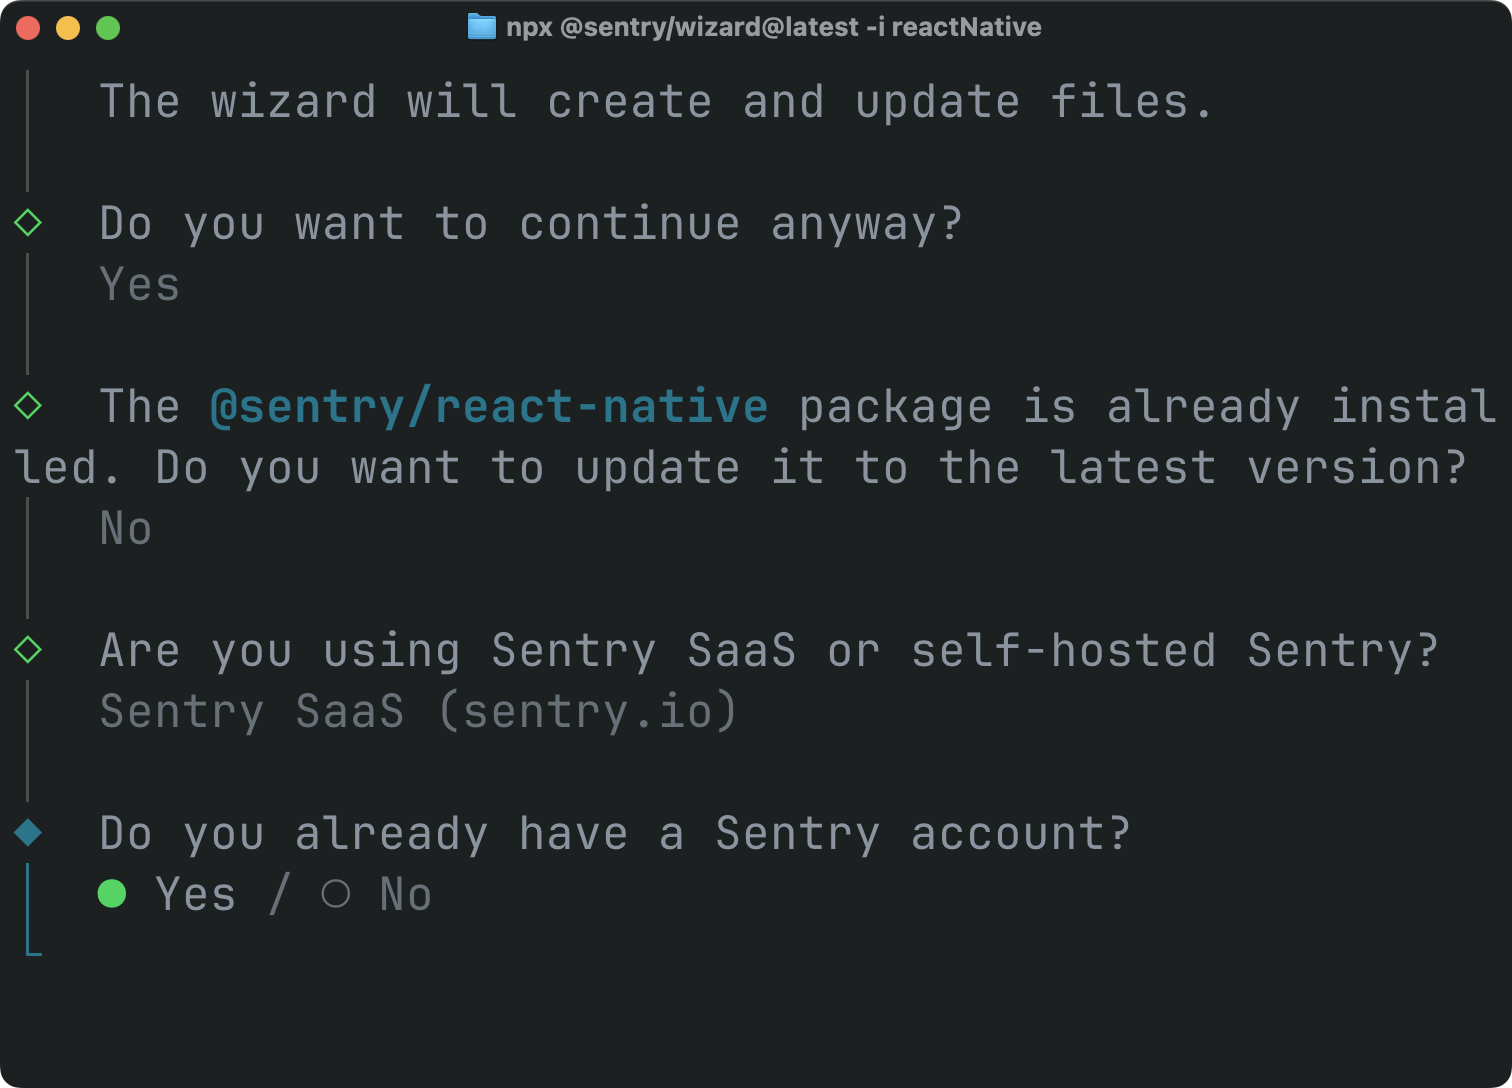
Sentry Wizard The wizard will guide you into project configuration.
-
Select or Create a Project
Choose your Sentry project:
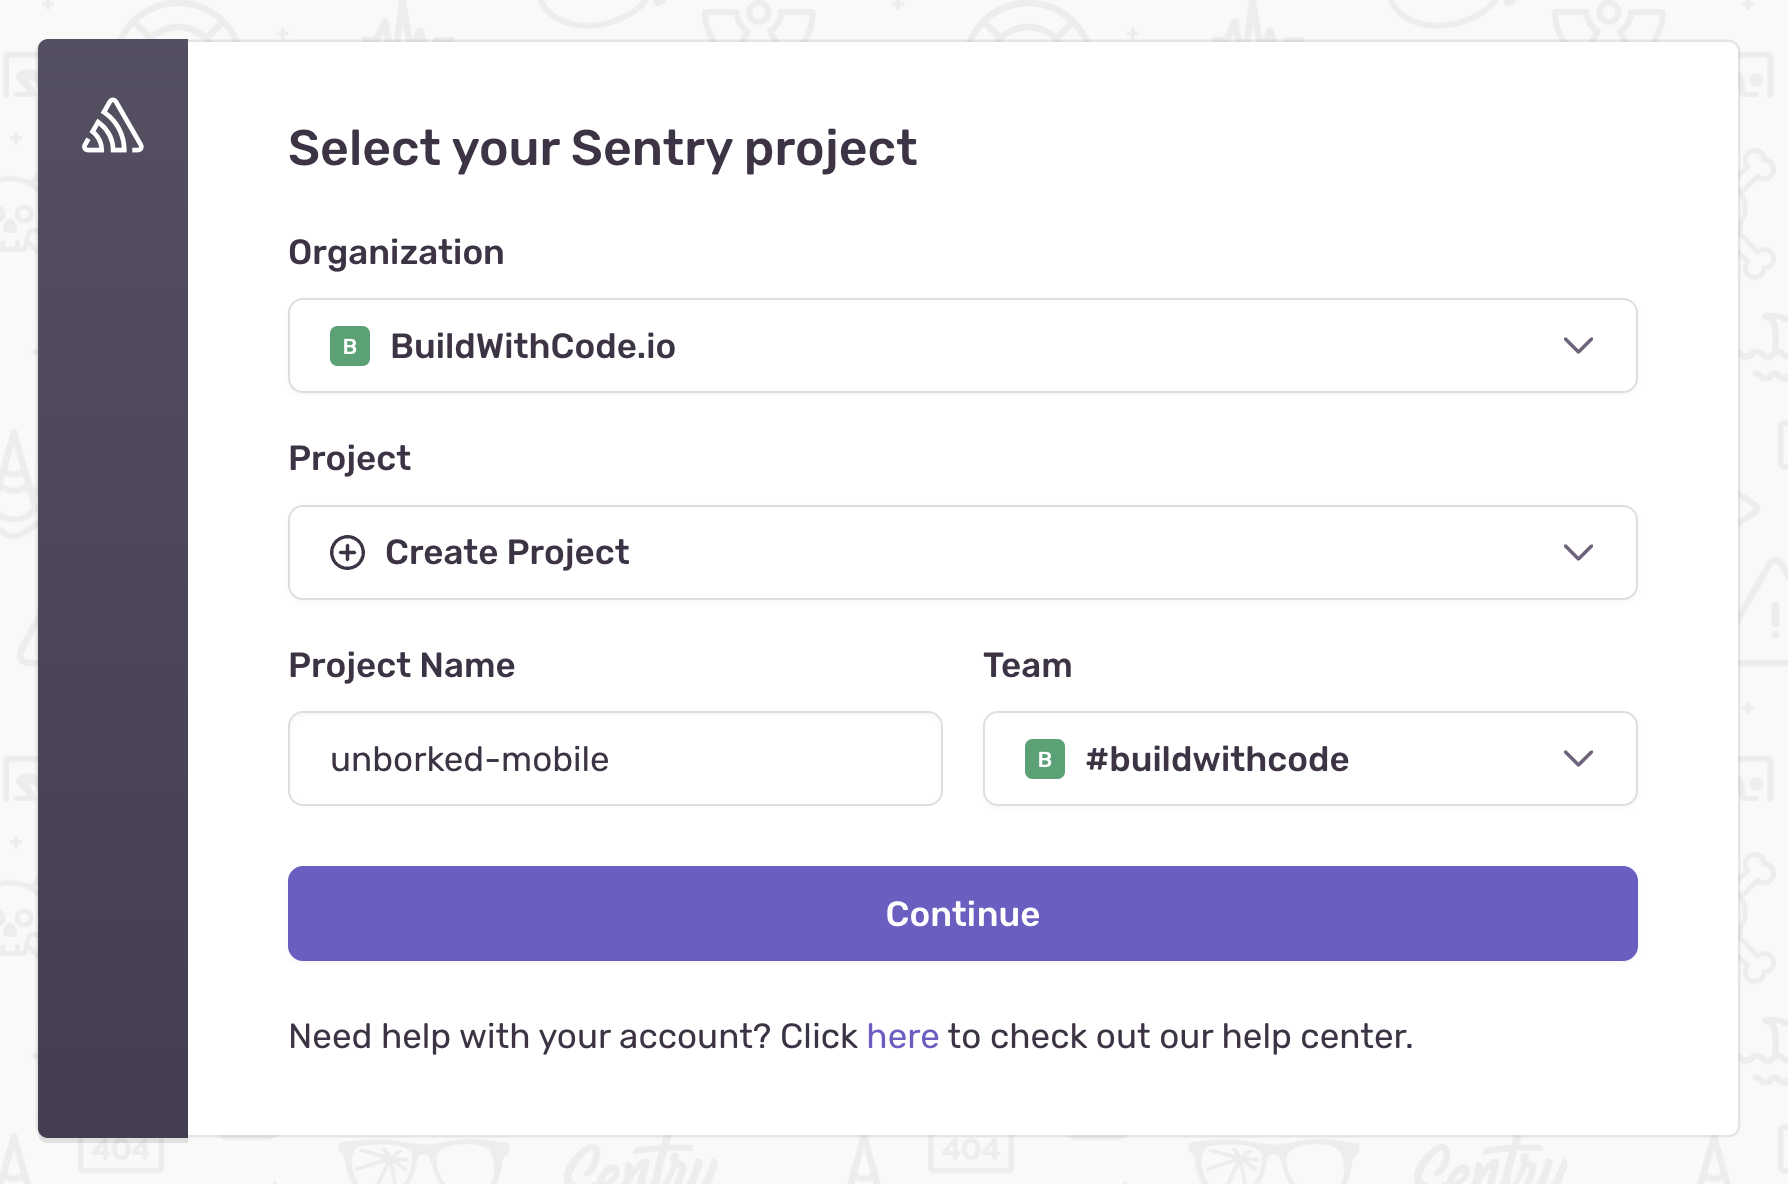
Unborked Mobile Project - If you don’t have one yet, the wizard can create it for you
- Select “React Native” as the platform
-
Choose Features to Enable
You’ll be asked which features to enable, Mobile Replay and/or User Feedback. For this workshop we’ll focus on Mobile Replay only.
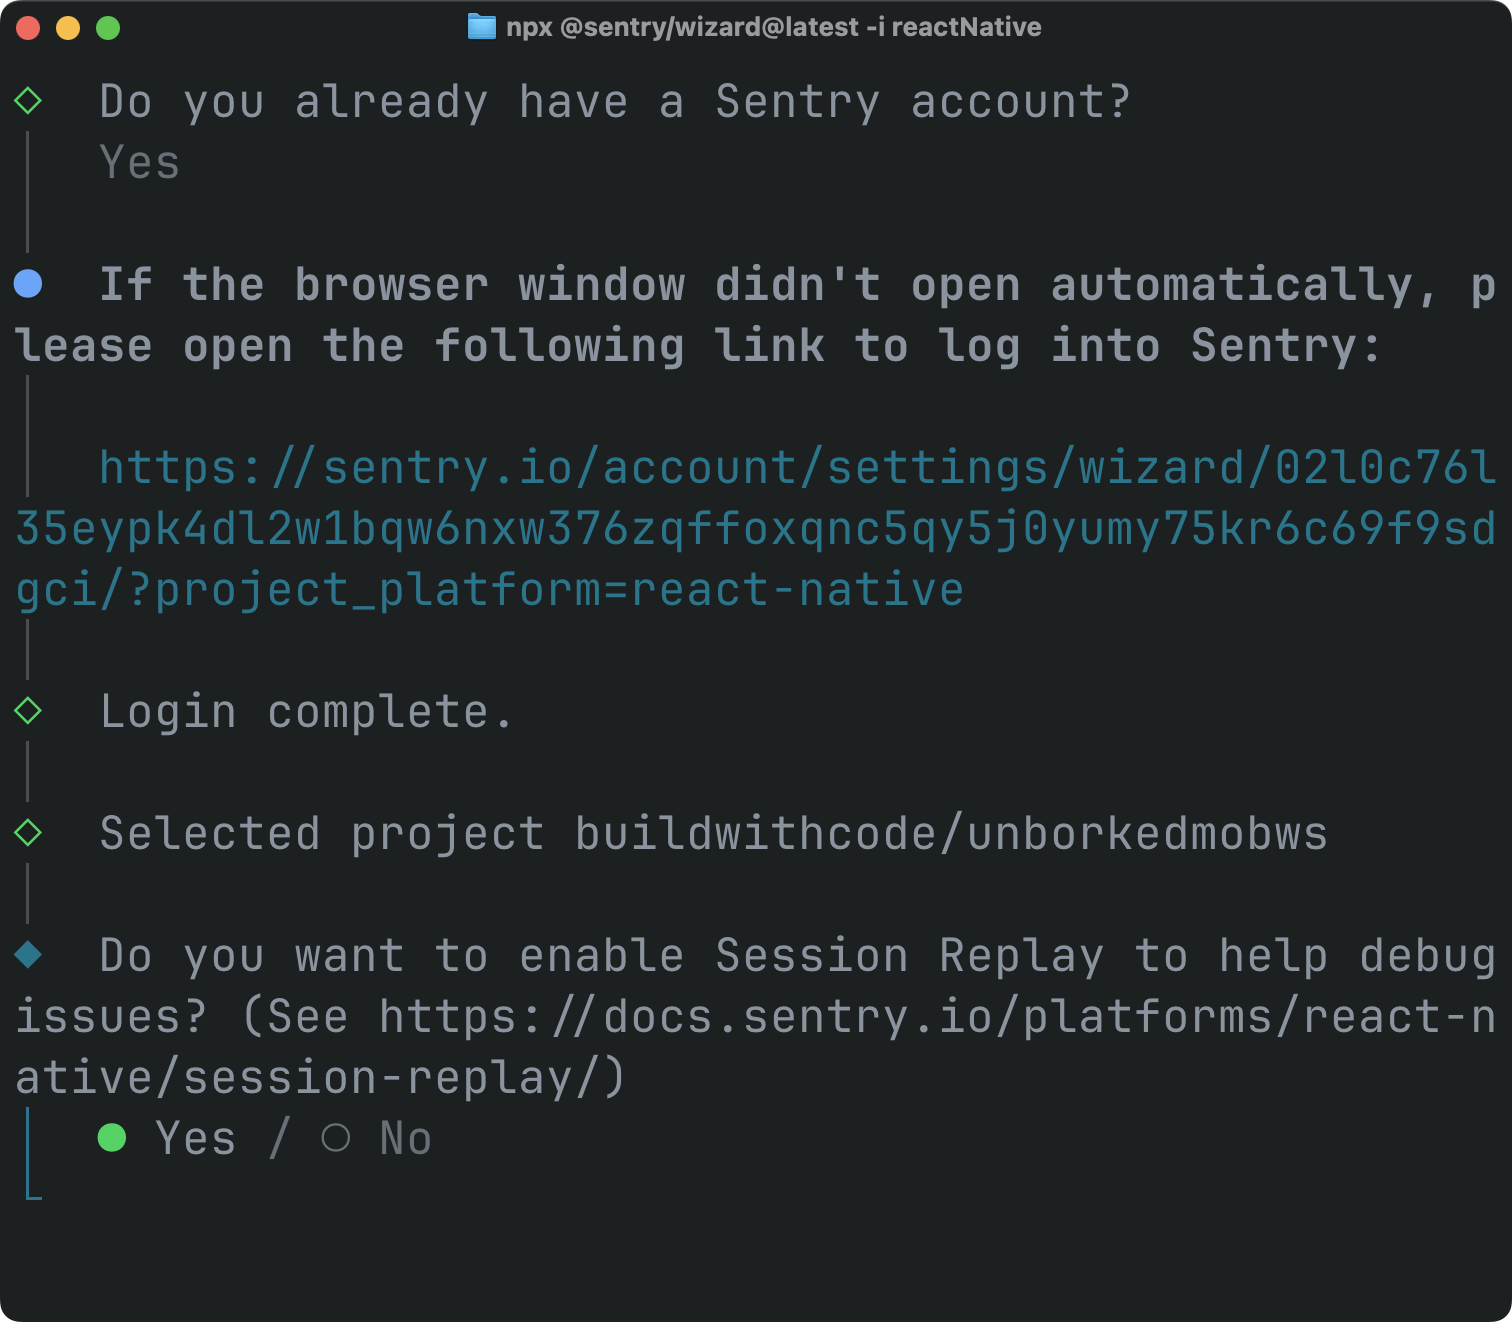
Mobile Replay Features -
Complete the setup
The wizard will prompt you to configure your first error, fortunately, our app is already broken so we’ll say yes and move along. We’re ready to get started.
What Gets Added to Your Project
-
Configuration Files the React Native application
The wizard adds specific config directives for different parts of the application:
app/_layout.tsx- Where the Sentry configurations are added toapp.json- Sentry Expo plugin configurations addedmetro.config.js- The Sentry expo configurations added
Here’s what the
app/_layout.tsxconfiguration looks like:import * as Sentry from '@sentry/react-native';Sentry.init({dsn: '<Your Sentry DSN>',// Adds more context data to events (IP address, cookies, user, etc.)// For more information, visit: https://docs.sentry.io/platforms/react-native/data-management/data-collected/sendDefaultPii: true,// Configure Session ReplayreplaysSessionSampleRate: 0.1,replaysOnErrorSampleRate: 1,integrations: [Sentry.mobileReplayIntegration(), Sentry.feedbackIntegration()],// uncomment the line below to enable Spotlight (https://spotlightjs.com)// spotlight: __DEV__,}); -
Update the configuration to enable Tracing
We’ll need to update the configuration to match the below:
import { Stack, useNavigationContainerRef, usePathname, useSegments } from 'expo-router';import * as Sentry from '@sentry/react-native';// keep other imports as wellconst navigationIntegration = Sentry.reactNavigationIntegration({enableTimeToInitialDisplay: true,});Sentry.init({dsn: '<Your Sentry DSN>',sendDefaultPii: true,tracesSampleRate: 1.0,replaysSessionSampleRate: 0.1,replaysOnErrorSampleRate: 1.0,integrations: [Sentry.mobileReplayIntegration(),Sentry.feedbackIntegration(),navigationIntegration,],});export default Sentry.wrap(function RootLayout() {const ref = useNavigationContainerRef();useEffect(() => {if (ref) {navigationIntegration.registerNavigationContainer(ref);}}, [ref]);// ... other application code ....To enable tracing, we’re adding in the tracesSampleRate property and setting it to 1.0 to sample 100% of spans coming inbound. Span sampling lets us control how many of the traces that are sent to Sentry are actually kept and used. Setting these high is helpful for debugging, but in production you’ll want to set them lower to avoid sending too much data.
We’re also bringing in the Expo Router ba
-
Increase Replay Sample Rate and Unmask Content
To simplify debugging and show a bit more content in the workshop, we’re going to also bump up the sample rate for all replays, and set the flags that will unmask the content in Replays. In production environments this not recommended as it can expose sensitive data - but in a workshop, YOLO.
import { Stack, useNavigationContainerRef, usePathname, useSegments } from 'expo-router';import * as Sentry from '@sentry/react-native';// keep other imports as wellSentry.init({dsn: '<Your Sentry DSN>',sendDefaultPii: true,tracesSampleRate: 1.0,replaysSessionSampleRate: 1,0,replaysOnErrorSampleRate: 1.0,integrations: [Sentry.mobileReplayIntegration(maskAllText: false,blockAllMedia: false,),Sentry.feedbackIntegration(),navigationIntegration],}); -
Restart the simulator (sometimes…)
Since we’ve installed singificant packages as part of our setup, we might need to restart the simulator. Cancel it, and run the following command again:
Terminal window npx expo run:ios
Testing Unborked Mobile
-
Test login
When the application restarts, you should be able to attempt to login with SSO, which should trigger an error… and now, we’re good to go!
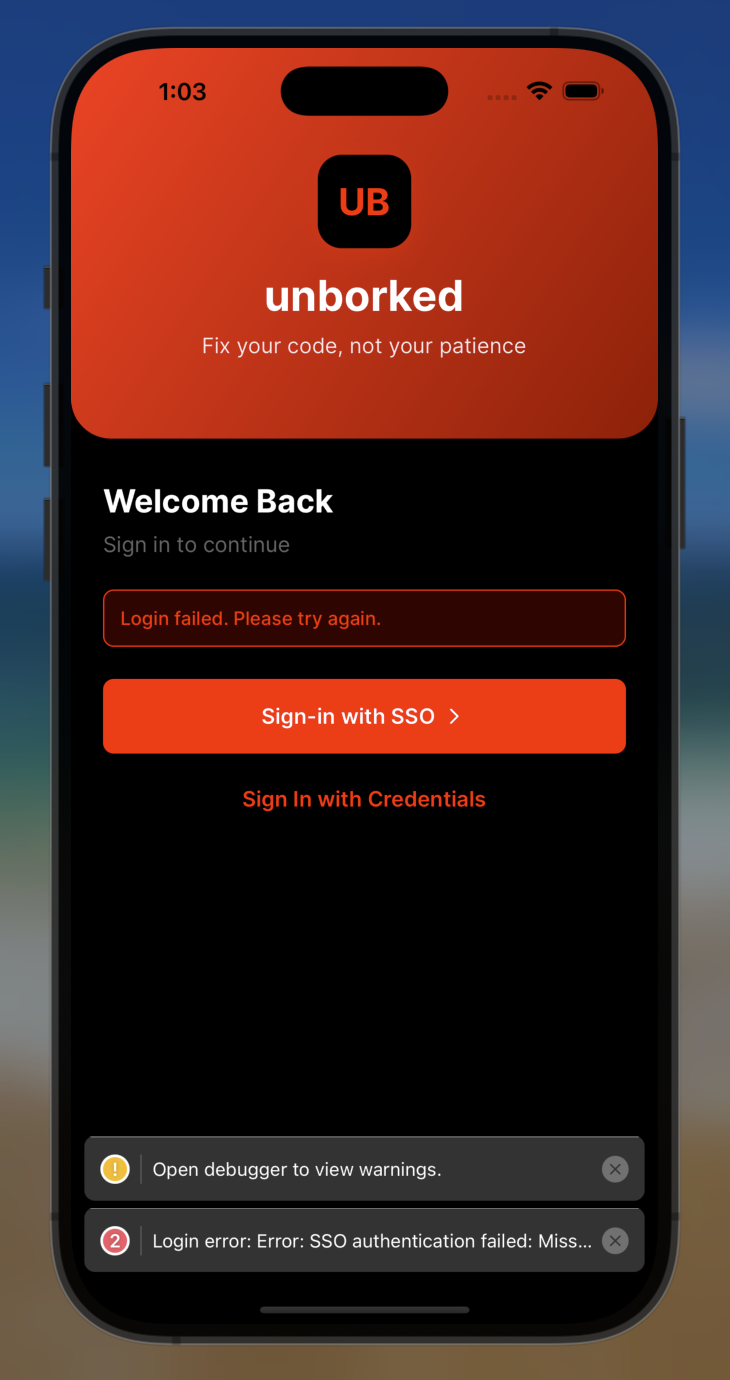
ssoFirstError -
Verify in Sentry Dashboard
Log in to your Sentry account and check the “Issues” section to see the errors you’ve triggered. You should see detailed information about the error. If you dive into this error you should see:
- Stack traces
- Request information
- Mobile replays
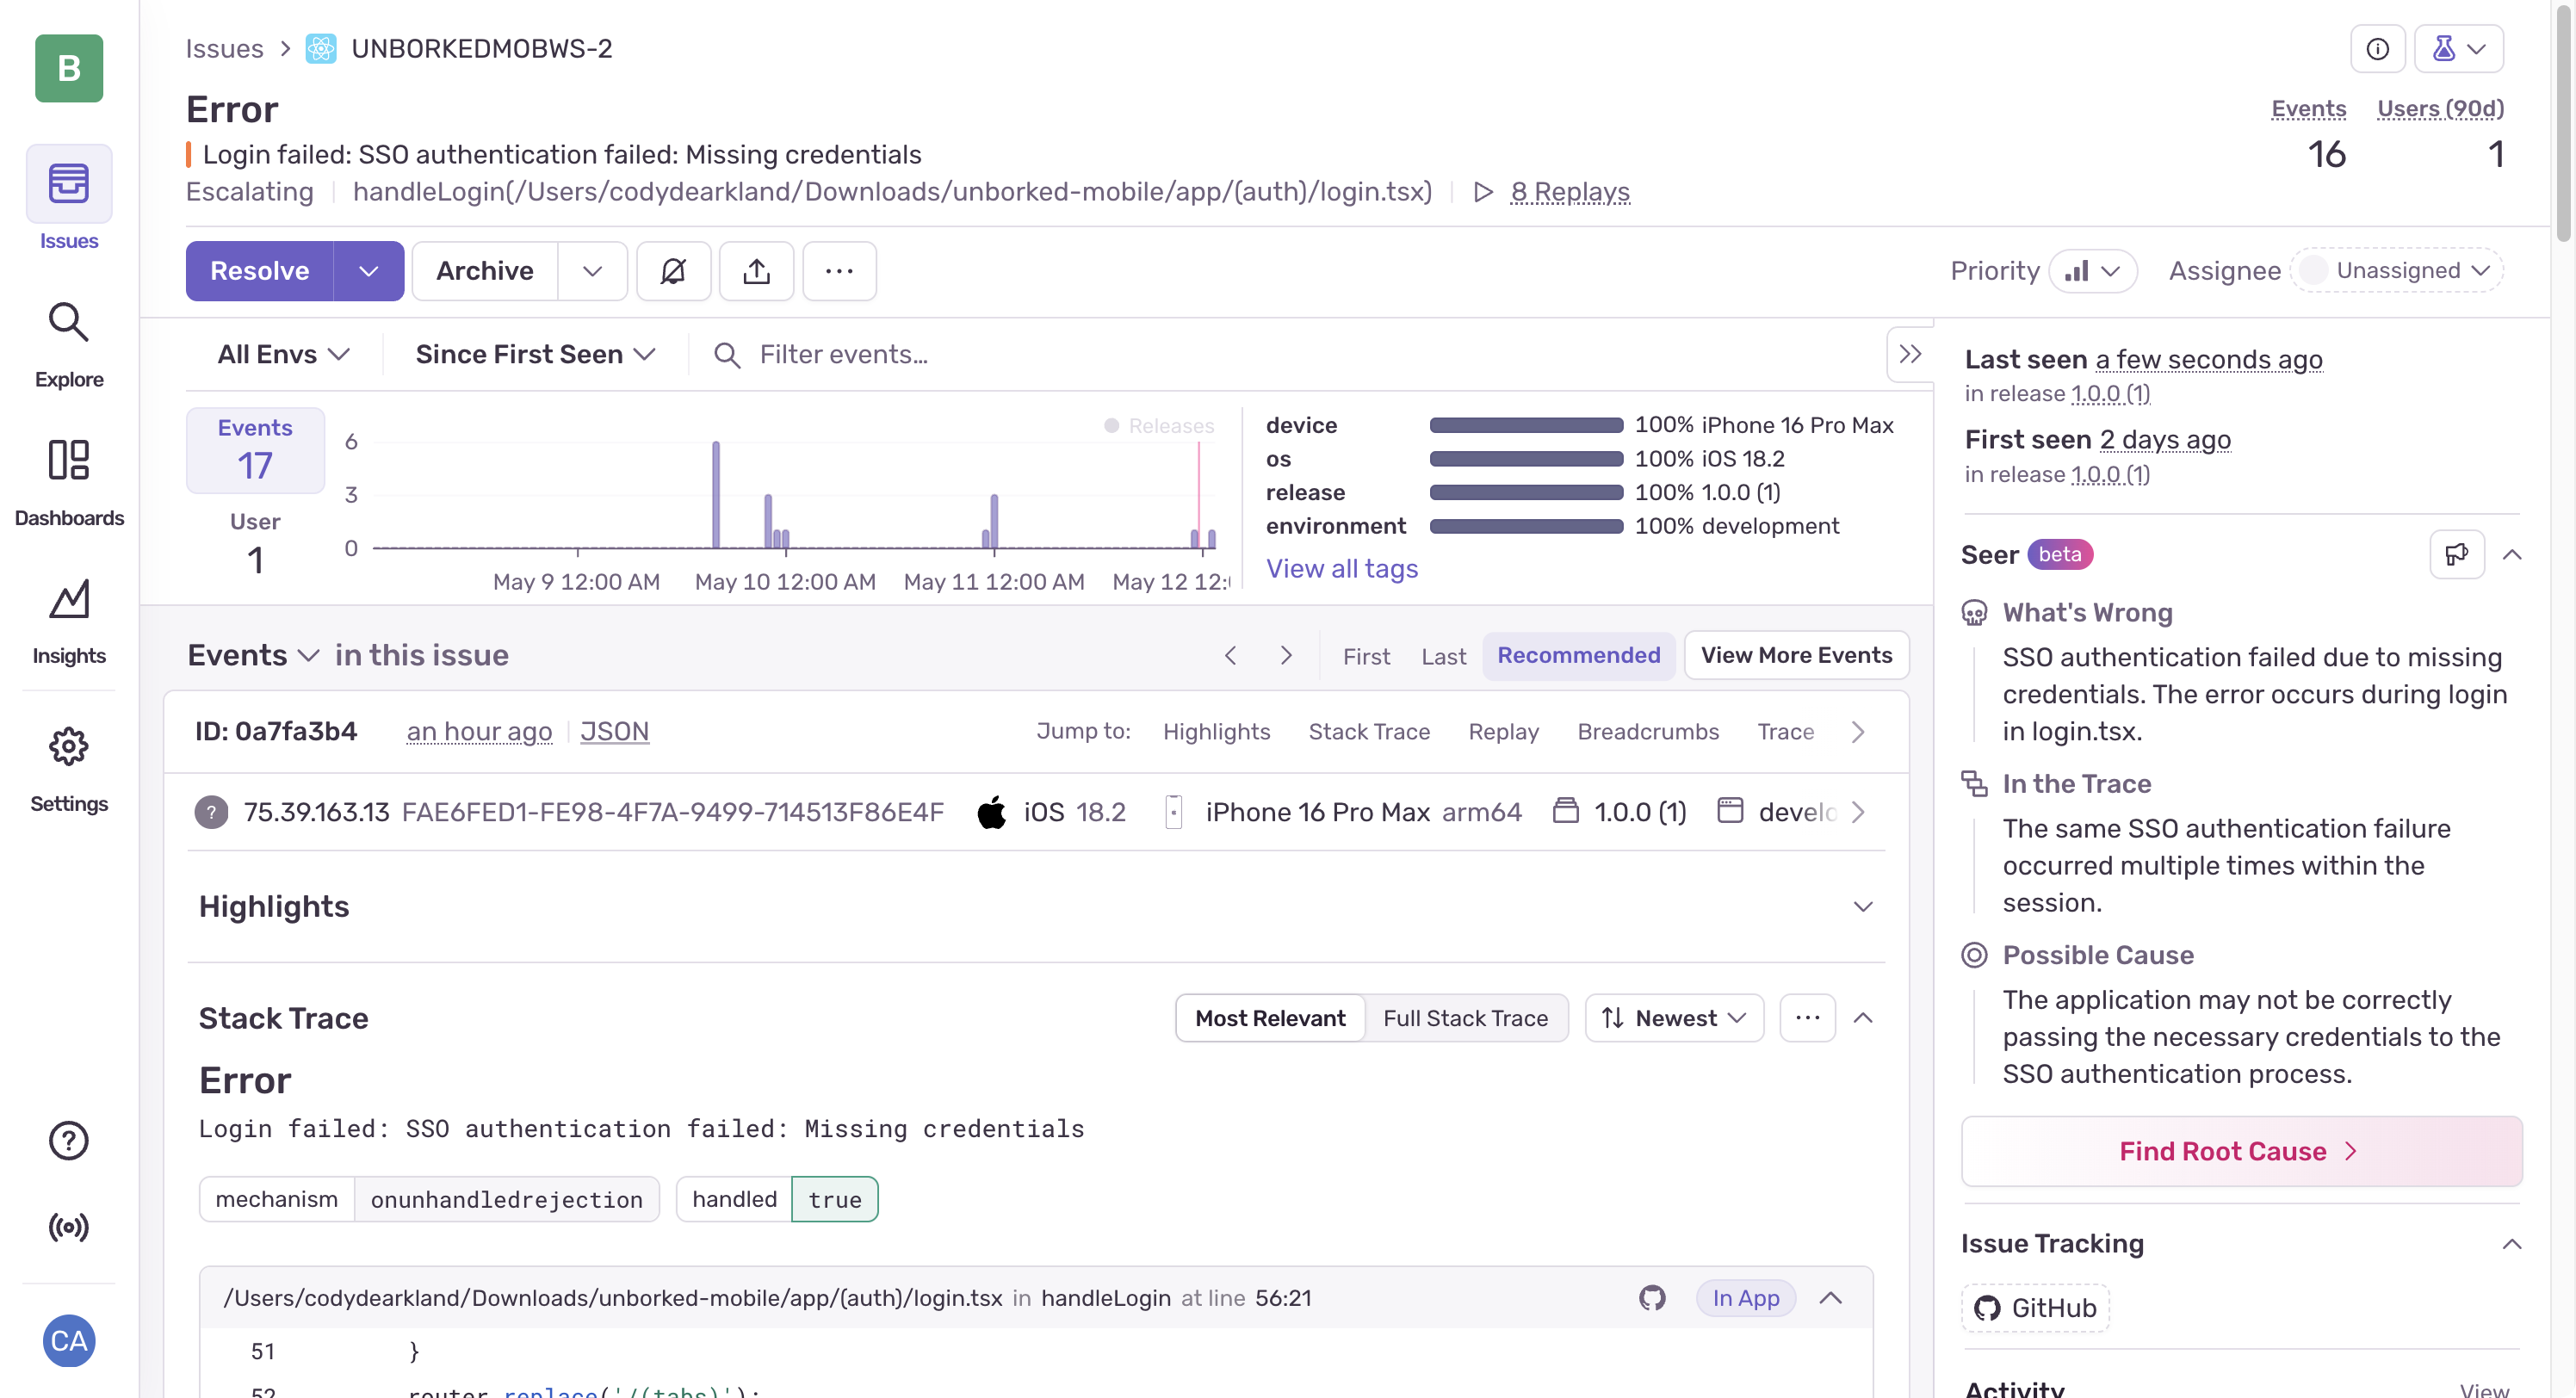
unborkedFirstIssue
Next Steps
Now that Sentry is configured in your application, you’re ready to start the workshop exercises. These will guide you through common scenarios and show you how to use Sentry to diagnose and fix them.